Creating realistic and captivating eyes in drawings is a skill that many artists strive to achieve. Whether you're a beginner or an intermediate artist, learning the basics of drawing eyes can significantly enhance your artwork. This guide will provide you with step-by-step instructions, tips, and techniques to make drawings of eyes easy and enjoyable.
Artists often consider eyes as the most expressive part of a face. They convey emotions, personality, and life to your artwork. Understanding the anatomy of the eye and mastering simple techniques can make this process less intimidating. By the end of this article, you'll have the tools and knowledge to create stunning eye illustrations.
Regardless of your skill level, this guide is designed to cater to everyone who wants to learn how to create beautiful drawings of eyes easy. We’ll explore various techniques, tools, and best practices to ensure your artwork looks professional and polished.
Read also:What Is Hector Camacho Jr Net Worth 2024 Career Salary Finance Insights
Table of Contents
- Understanding the Anatomy of the Eye
- Tools and Materials Needed for Drawings of Eyes Easy
- Starting with Basic Shapes
- Shading Techniques for Realistic Eyes
- Exploring Variations in Eye Drawings
- Avoiding Common Mistakes in Eye Drawing
- Tips for Beginners to Improve Drawings of Eyes Easy
- Practice Exercises to Sharpen Your Skills
- Transitioning to Digital Drawing of Eyes
- Conclusion: Your Journey to Mastering Drawings of Eyes Easy
Understanding the Anatomy of the Eye
Before diving into the drawing process, it’s essential to understand the anatomy of the eye. Knowing the different parts and how they interact will help you create more realistic drawings of eyes easy. The human eye consists of several components:
- Iris: The colored part of the eye that controls the size of the pupil.
- Pupil: The black center of the eye that adjusts to light.
- Sclera: The white part of the eye that surrounds the iris.
- Cornea: The clear, protective outer layer of the eye.
- Retina: The layer at the back of the eye that processes light.
Studying the anatomy of the eye will give you a solid foundation for your drawings. You can find numerous resources online, including diagrams and tutorials, to deepen your understanding.
Why Understanding Anatomy is Crucial
By grasping the anatomy of the eye, you can accurately depict its proportions and create more lifelike drawings. This knowledge also helps you identify and correct mistakes in your work, leading to improved results over time.
Tools and Materials Needed for Drawings of Eyes Easy
To start drawing eyes, you’ll need a few basic tools and materials. Here’s a list of essentials:
- Pencils (various grades such as 2B, 4B, 6B)
- Erasers (kneaded and standard)
- Sketchbook or drawing paper
- Blending tools (tortillons or blending stumps)
- Reference images
For digital artists, consider investing in a graphics tablet and software like Adobe Photoshop or Procreate. These tools can enhance your workflow and provide more flexibility in your creations.
Choosing the Right Paper
The type of paper you use can significantly impact your drawing. Look for paper with a smooth texture to ensure clean lines and smooth shading. Heavier paper is also preferable for larger drawings or when using multiple layers of shading.
Read also:What Is Rene Redzepi Net Worth 2024 Discover His Financial Success
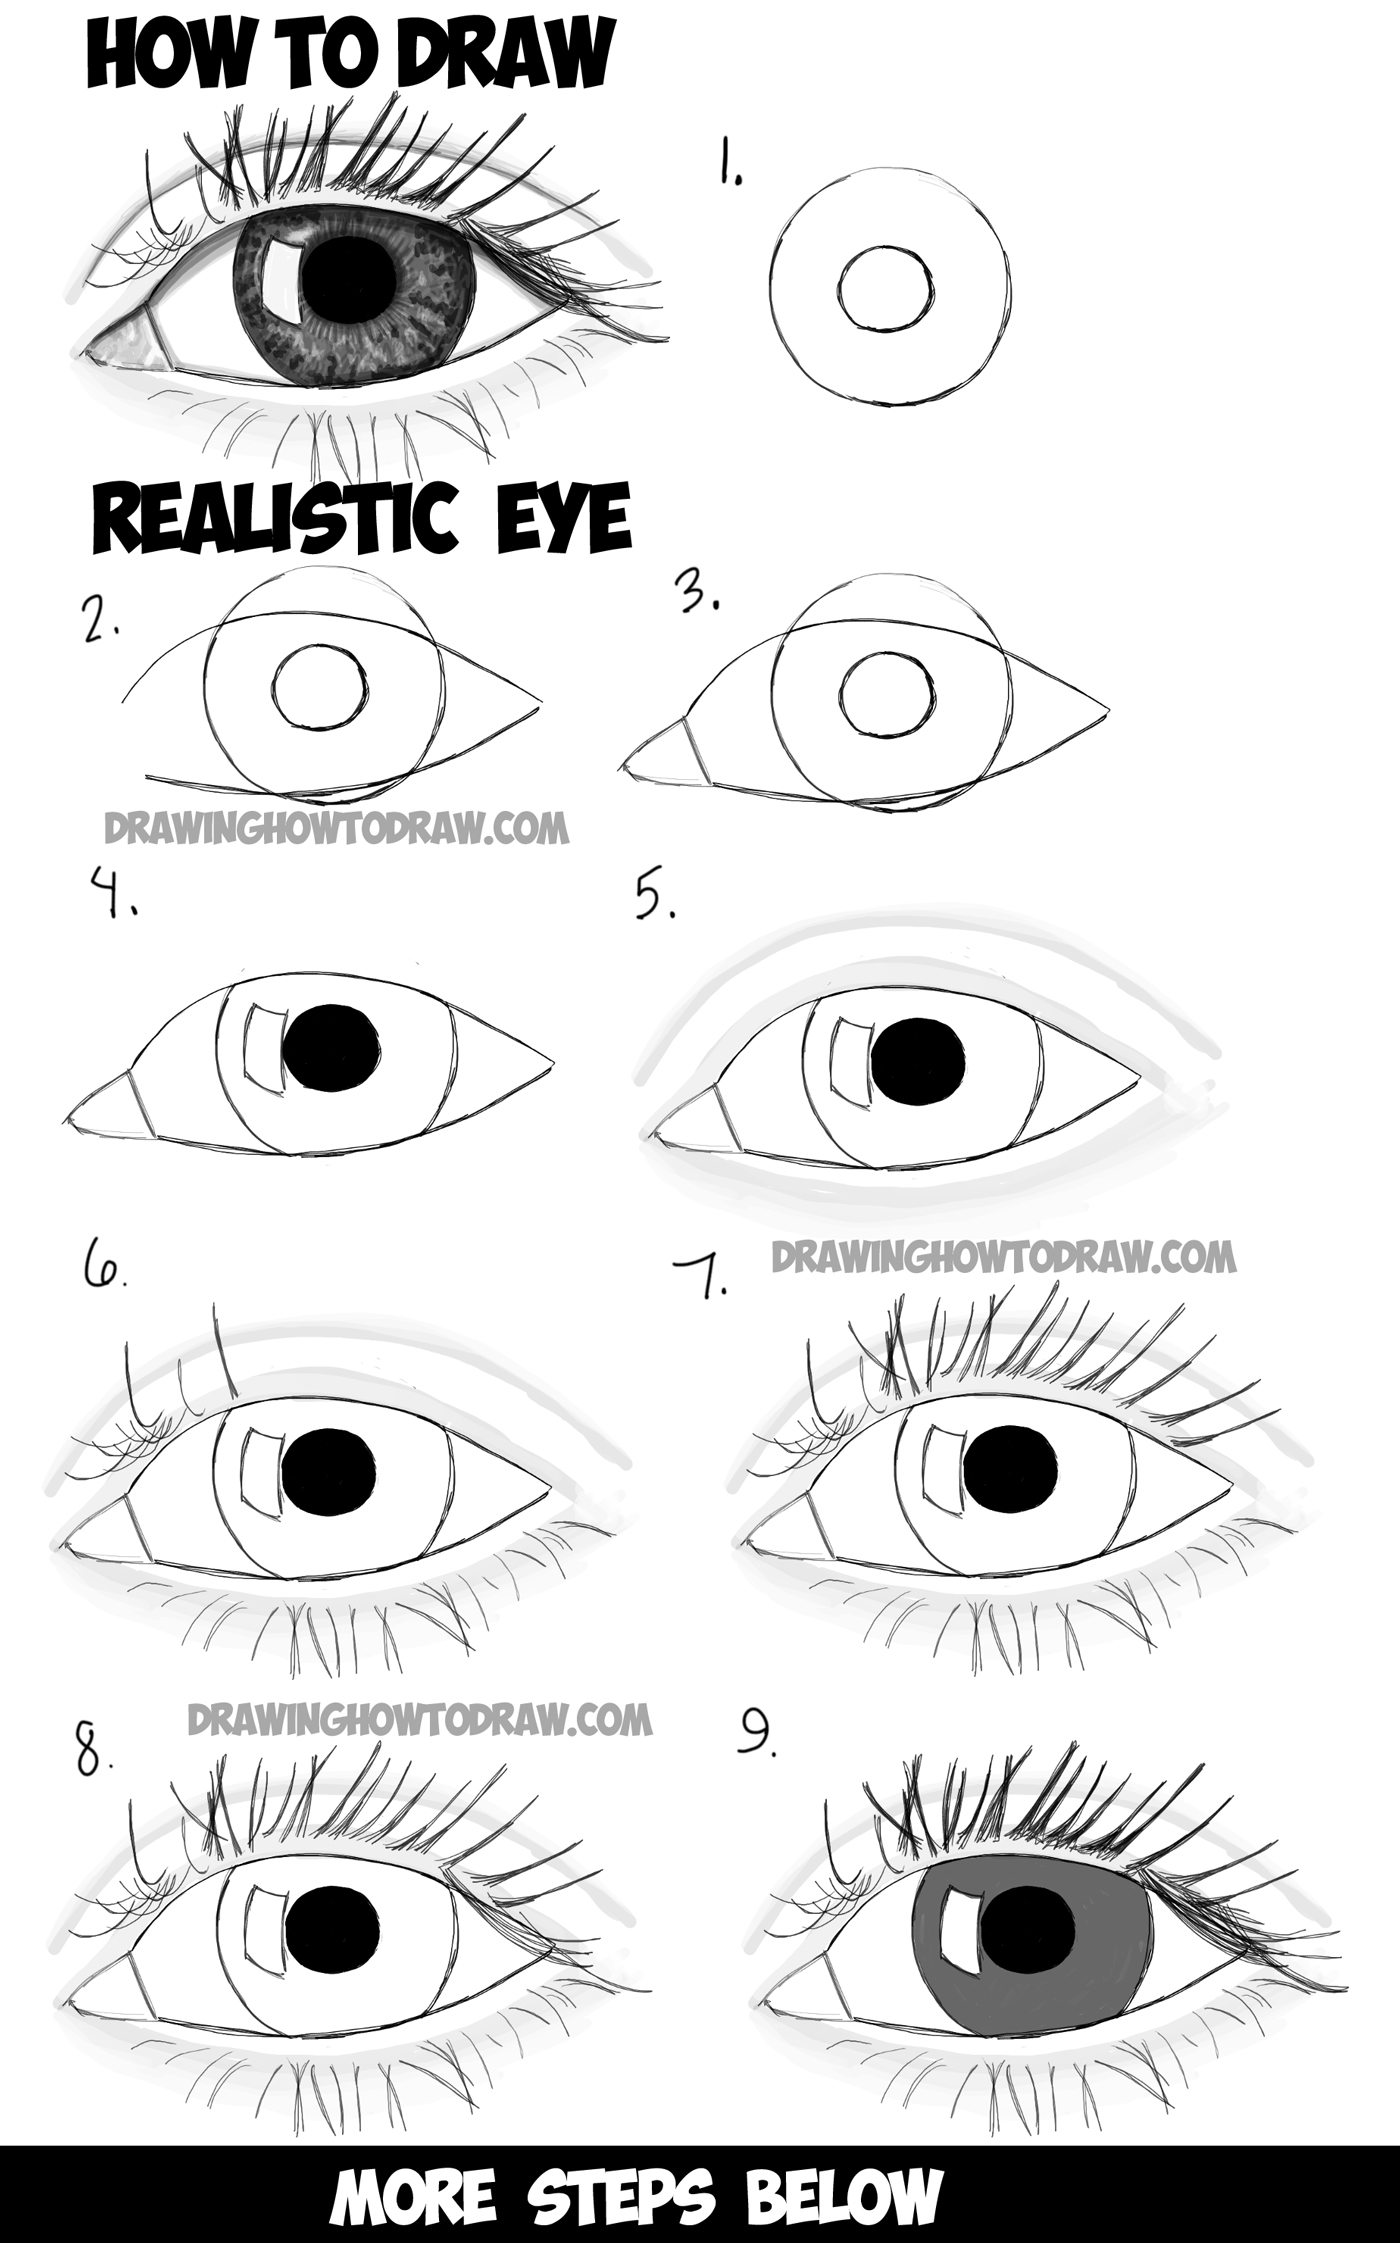
Starting with Basic Shapes
One of the easiest ways to start drawings of eyes easy is by using basic shapes. Begin with an oval for the overall shape of the eye, followed by a smaller circle for the iris and pupil. This method helps establish the proportions and ensures symmetry in your drawing.
Steps to Create Basic Shapes:
- Draw a horizontal line to serve as the base for the eye.
- Add an oval shape above the line for the upper eyelid.
- Sketch a smaller circle for the iris and a dot for the pupil.
- Outline the lower eyelid and refine the shape.
Refining the Basic Shapes
Once you’ve established the basic shapes, it’s time to refine the details. Pay attention to the curves of the eyelids and the placement of the iris. Adding subtle details like eyelashes and reflections can bring your drawing to life.
Shading Techniques for Realistic Eyes
Shading is a crucial aspect of creating realistic drawings of eyes easy. It adds depth and dimension to your artwork, making it more lifelike. Here are some shading techniques to try:
- Hatching: Parallel lines drawn close together to create shading.
- Cross-hatching: Layers of intersecting lines for deeper shading.
- Stippling: Small dots used to create shading and texture.
- Blending: Smoothing out pencil strokes for a seamless transition.
Experiment with different techniques to find what works best for your style. Remember to observe real eyes for reference and adjust your shading accordingly.
Creating Depth with Shadows
Shadows play a vital role in adding depth to your drawings. Focus on areas like the upper eyelid, the corners of the eye, and beneath the lower eyelid. These shadows help define the structure of the eye and make it appear more three-dimensional.
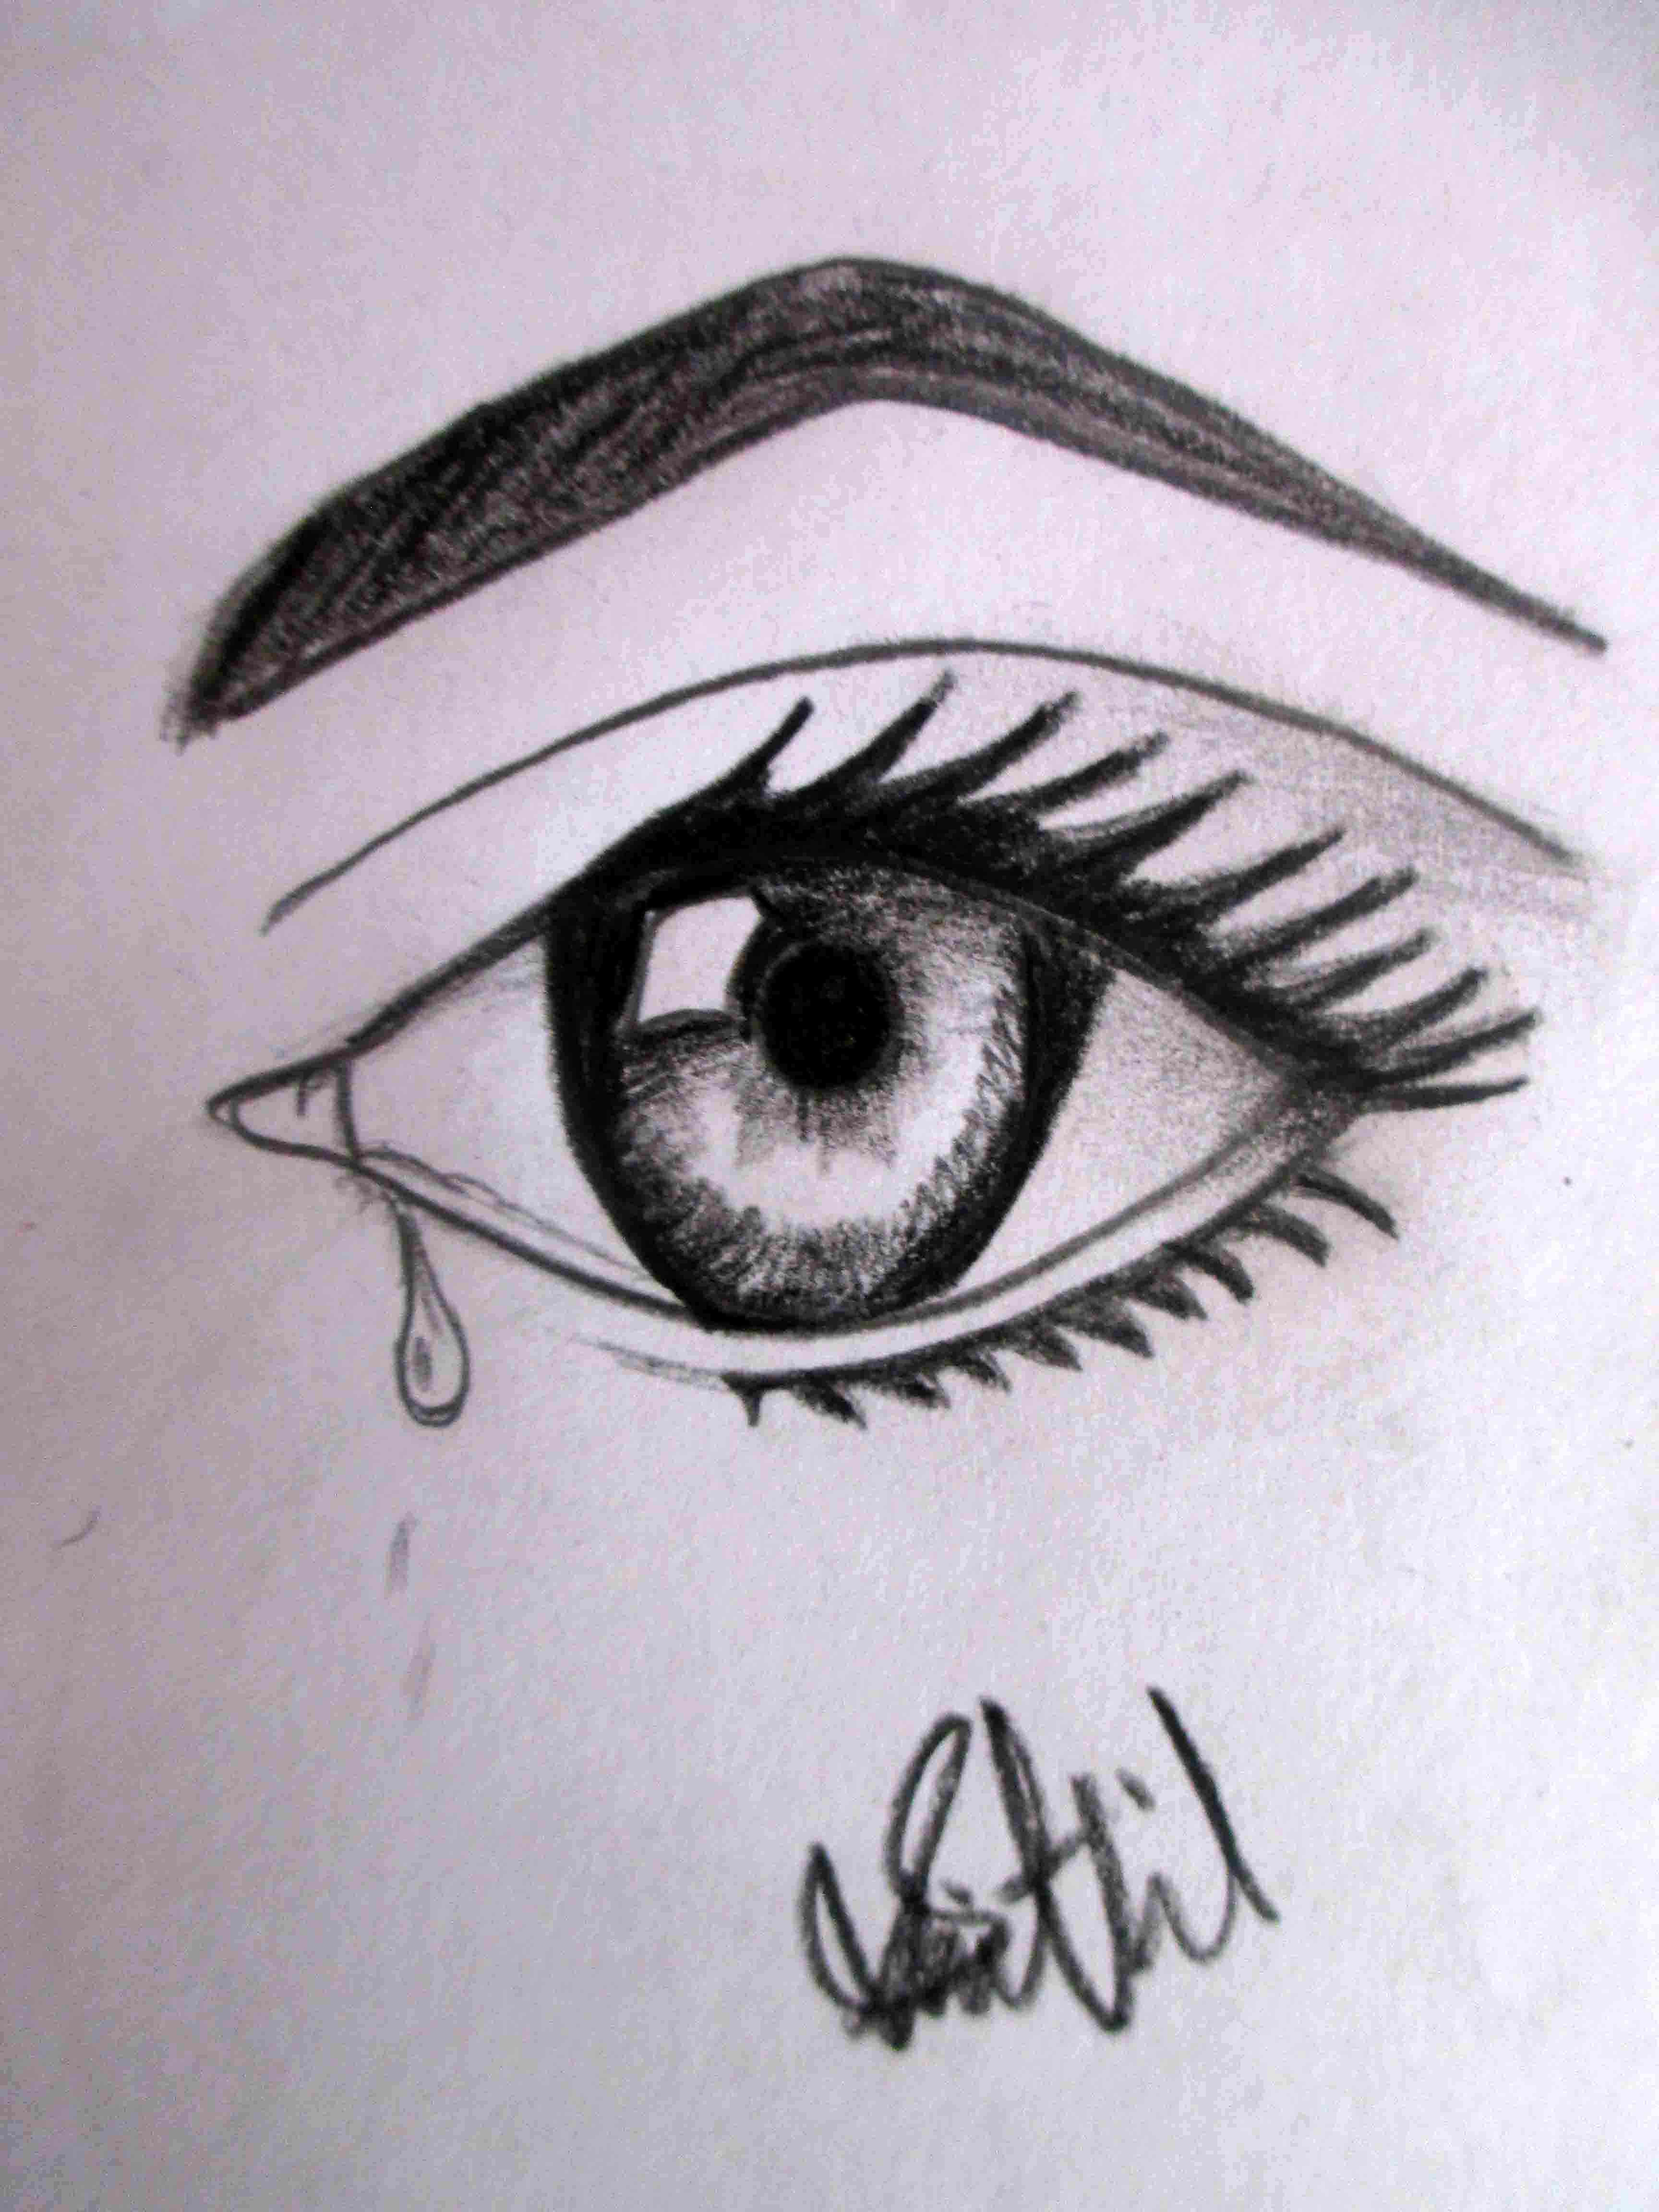
Exploring Variations in Eye Drawings
Eyes come in various shapes and sizes, and exploring different variations can expand your artistic repertoire. Some common eye shapes include:
- Almond-shaped eyes
- Hooded eyes
- Round eyes
- Down-turned eyes
Understanding these variations allows you to create diverse and unique eye drawings. Use reference images to study different eye shapes and incorporate them into your artwork.
Adding Personality to Your Eye Drawings
Each eye shape can convey different emotions and personalities. For example, almond-shaped eyes often appear gentle and approachable, while down-turned eyes can convey sadness or introspection. Experiment with different expressions to add personality to your drawings.
Avoiding Common Mistakes in Eye Drawing
Even experienced artists make mistakes when drawing eyes. Here are some common pitfalls to avoid:
- Misaligned pupils
- Inconsistent proportions
- Overworking the shading
- Ignoring reflections
By being aware of these mistakes, you can take steps to prevent them and improve the quality of your drawings.
How to Fix Mistakes
If you make a mistake, don’t panic! Use your eraser to gently remove unwanted lines or shading. Start with light strokes and gradually build up the intensity to avoid damaging the paper. Practice patience and take your time to refine your work.
Tips for Beginners to Improve Drawings of Eyes Easy
Here are some tips specifically tailored for beginners looking to improve their skills in drawings of eyes easy:
- Practice regularly to build muscle memory.
- Study reference images to understand proportions and anatomy.
- Experiment with different techniques to find what works best for you.
- Don’t be afraid to make mistakes; they’re part of the learning process.
Consistency is key when learning any new skill. Dedicate time each day to practice and watch your progress improve over time.
Setting Realistic Goals
Set achievable goals for yourself, such as mastering a specific shading technique or completing a certain number of drawings each week. Celebrate your accomplishments and use them as motivation to continue improving.
Practice Exercises to Sharpen Your Skills
To become proficient in drawings of eyes easy, regular practice is essential. Here are some exercises to help you sharpen your skills:
- Draw eyes from different angles.
- Practice shading techniques on blank paper.
- Create eye drawings with various expressions.
- Challenge yourself to draw eyes without using reference images.
These exercises will help you develop a deeper understanding of eye anatomy and improve your overall drawing abilities.
Tracking Your Progress
Keep a sketchbook to track your progress over time. Reviewing your past work can highlight areas of improvement and motivate you to continue learning. Share your progress with others for feedback and encouragement.
Transitioning to Digital Drawing of Eyes
If you’re ready to take your skills to the next level, consider transitioning to digital drawing. Digital tools offer more flexibility and allow for easy edits, making them a popular choice among artists. Here are some benefits of digital drawing:
- Ability to use layers for better organization.
- Access to a wide range of brushes and tools.
- Undo and redo options for error correction.
- Portability and convenience.
Invest in a graphics tablet and familiarize yourself with digital art software to unlock new possibilities in your drawings of eyes easy.
Choosing the Right Software
There are many digital art programs available, each with its own set of features. Some popular options include Adobe Photoshop, Procreate, and Corel Painter. Research each program to determine which one aligns best with your needs and preferences.
Conclusion: Your Journey to Mastering Drawings of Eyes Easy
Creating beautiful and realistic drawings of eyes easy requires patience, practice, and dedication. By understanding the anatomy of the eye, mastering shading techniques, and exploring variations, you can elevate your artwork to the next level. Remember to set realistic goals, practice regularly, and seek feedback from others to continuously improve.
We encourage you to share your creations with the world. Leave a comment below with your favorite technique or tip for drawing eyes. Don’t forget to explore other articles on our website for more artistic inspiration and guidance. Happy drawing!